How To Install Mosaic Tile Backsplash
Adding a stylish backsplash can transform your kitchen or bathroom. Small, colorful pieces arranged in patterns create a unique focal point. This guide walks through the essentials of achieving a flawless finish, whether you’re a DIY enthusiast or prefer expert help.
A well-designed backsplash protects walls from spills while boosting your home’s aesthetic. Proper installation ensures durability and avoids costly mistakes. For homeowners in Colorado Springs, Elevated Tile and Remodeling offers precision craftsmanship tailored to your vision.
The process starts with surface preparation—cleaning, leveling, and measuring. Next, adhesive is applied before carefully placing each piece. Grouting and sealing complete the project, ensuring long-lasting beauty. While some tackle this as a DIY project, hiring a professional handyman guarantees seamless results.
Elevated Tile and Remodeling combines expertise with attention to detail, making them a top choice locally. Ready to upgrade your space? Call today at 719-283-9569 to discuss your project!
Key Takeaways
- Proper surface preparation is critical for durability.
- Professional installers ensure precise alignment and finishing.
- Grouting and sealing protect against moisture and stains.
- Elevated Tile and Remodeling serves Colorado Springs residents.
- Expert help saves time and reduces errors.New Paragraph
Understanding Mosaic Tile Backsplash Installation
Small tiles arranged creatively offer a durable and eye-catching wall solution. These designs combine practicality with artistic flair, making them ideal for kitchens and bathrooms. Let’s explore how this approach enhances your space while simplifying upkeep.
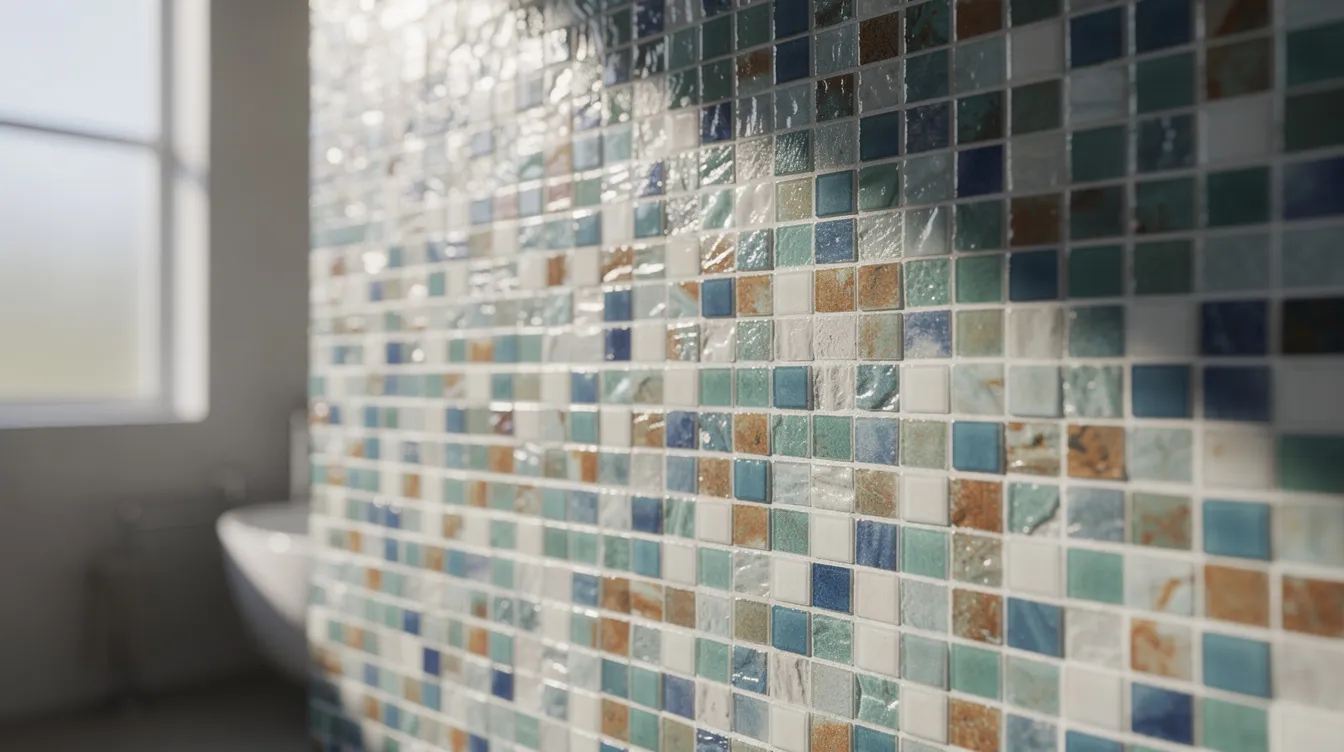
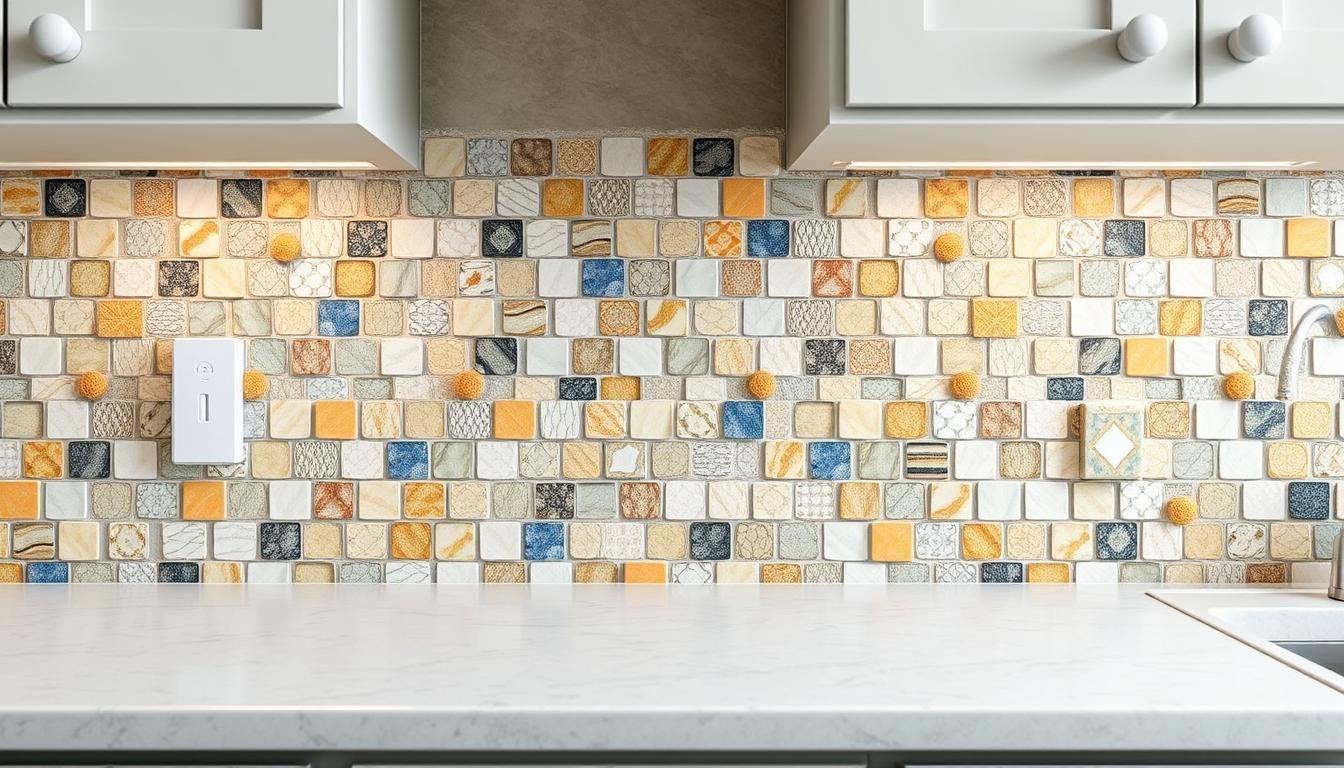
What is a Mosaic Tile Backsplash?
This type of wall covering uses small pieces of glass, stone, or ceramic arranged in patterns. Its compact size allows for intricate designs that larger formats can’t achieve. Popular in modern homes, it resists water splashes and grease stains while adding personality.
Benefits for Your Home
Style and durability go hand-in-hand with these installations. They protect walls from daily wear while boosting your property’s appeal. Here’s why homeowners love them:
| Feature | Advantage | Best For |
|---|---|---|
| Varied Materials | Glass, porcelain, or natural stone options | Customized aesthetics |
| Grout Quality | Prevents moisture damage | High-humidity areas |
| Professional Finish | Seamless alignment | Long-term value |
Proper
grout application seals gaps between pieces, preventing mold and stains. Materials like epoxy grout offer extra protection in busy kitchens. For flawless results,
Elevated Tile and Remodeling uses premium supplies and precise techniques tailored to Colorado Springs homes.
Potential Drawbacks of Mosaic Tile
While mosaic tiles offer striking visuals and versatility, they do present a few challenges worth noting. Their smaller size means more grout lines, which can require extra maintenance to keep clean—especially in kitchens or bathrooms prone to splashes and humidity. Stubborn stains and mildew can collect in these joints if not properly sealed or regularly cared for.
Installation is also more intricate compared to larger tiles. The precise placement needed for consistent patterns and tight seams demands patience and a steady hand. This complexity may extend the project timeline or, if rushed, lead to uneven results. Additionally, the materials—especially specialty glass or natural stone—can carry a higher price tag than standard ceramic tiles.
In summary: mosaic tiles deliver a unique look and robust protection but call for careful planning, skilled installation, and consistent upkeep to maintain their charm and function.
Mosaic Tile Backsplash Tile Installers Near Me
Transforming your space with intricate designs requires more than just enthusiasm. Even minor missteps during setup can lead to uneven surfaces or premature wear. This is where skilled specialists make all the difference.
Are Mosaic Tiles Easy to Install?
Mosaic tiles can be installed by enthusiastic DIYers, but they aren’t always as straightforward as they appear. The small size of each tile makes them versatile for creating patterns, yet this intricacy demands patience and careful planning. Lining up each tile sheet so patterns flow seamlessly takes a steady hand and a keen eye for detail.
Basic tools and some home improvement experience can get the job done, especially for smaller splash zones. However, larger areas or complex designs may reveal the challenges—uneven surfaces, crooked alignments, or gaps that attract moisture. For homeowners who want true precision and long-lasting results, professionals bring specialized techniques and years of know-how to ensure every piece fits just right.
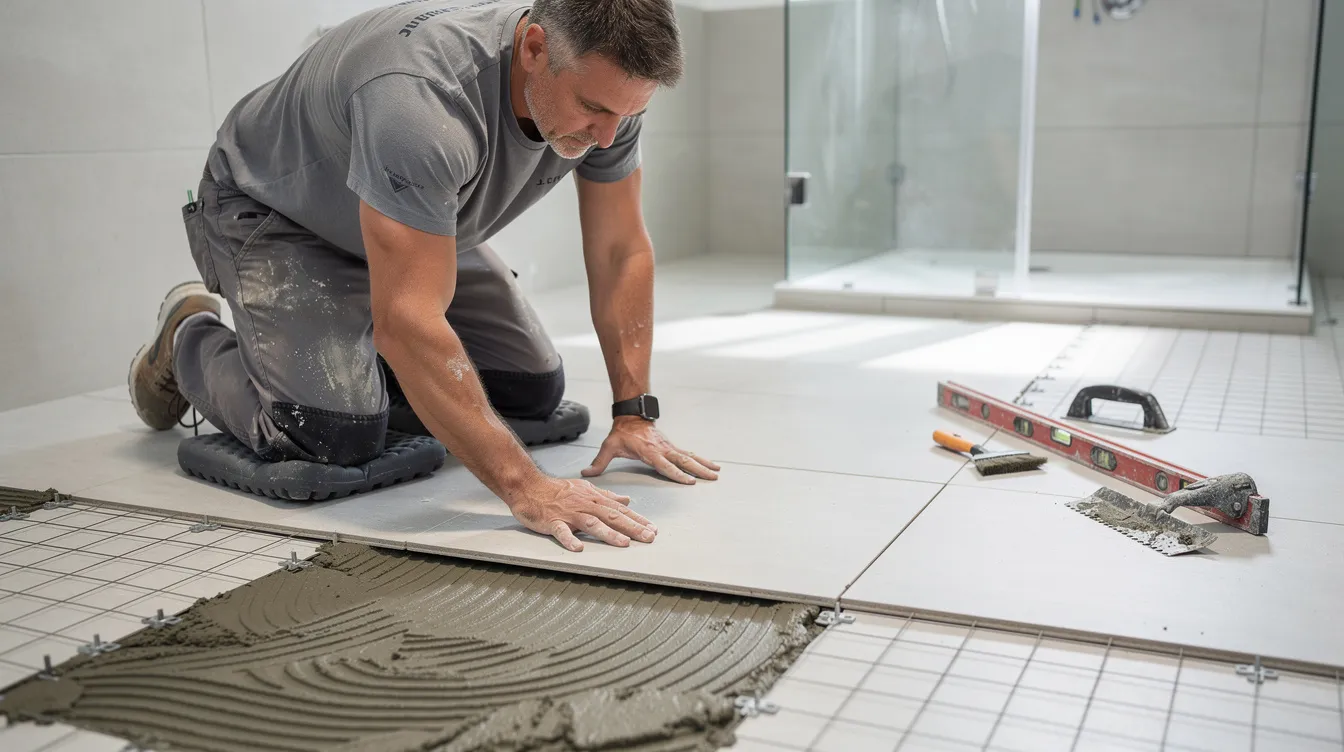
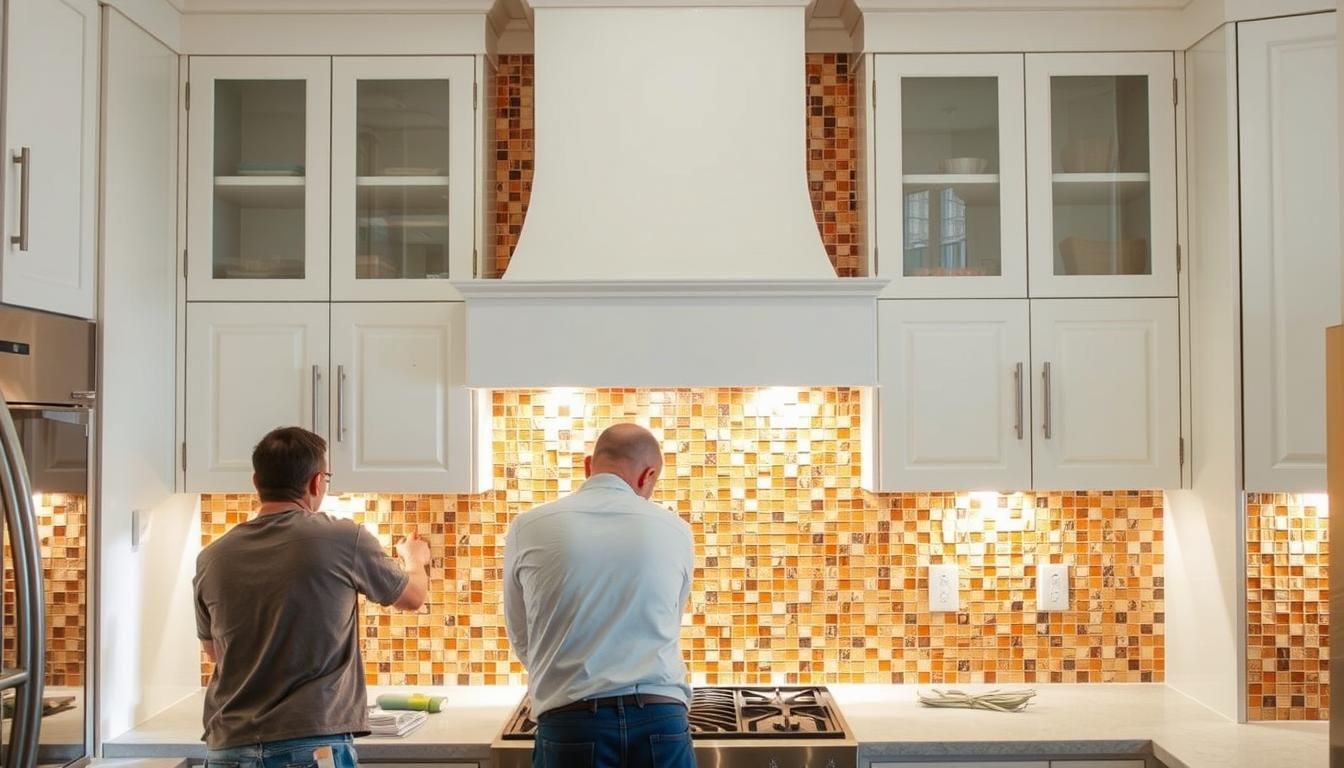
The Importance of Professional Installation
Specialists bring tools and techniques that DIYers often lack. They start by inspecting walls for cracks or unevenness—issues that could compromise adhesion. Their meticulous approach ensures every piece aligns perfectly, avoiding gaps that trap dirt or moisture.
Choosing to handle this yourself might save money upfront, but mistakes can be costly. Uneven adhesive application or improper sealing often leads to cracks or mold growth. Experts, like those at Elevated Tile and Remodeling, use industry-grade materials and proven methods for lasting results.
Local providers understand regional challenges, such as Colorado’s dry climate affecting adhesive curing times. They also handle tricky areas around outlets or corners with precision. Their work not only looks polished but also adds value to your home.
Trusting professionals means your project stays on schedule and meets safety standards. With
Elevated Tile and Remodeling, you get a team dedicated to flawless execution. Ready to see the difference expertise makes? Reach out today!
Planning and Preparation for Your Project
A successful home upgrade starts with smart preparation. Taking time to plan your project ensures every detail aligns with your vision while avoiding common pitfalls. Whether you’re refreshing a kitchen or bathroom, understanding your space and gathering the right materials lays the groundwork for stunning results.
Assessing Your Space and Design Needs
Begin by measuring your installation area carefully. Accurate dimensions help calculate how much material you’ll need and reduce waste. Ask yourself:
- Does the design harmonize with your cabinets, countertops, and lighting?
- Are there outlets or fixtures that require special cutting or spacing?
- Is the wall surface smooth and free of cracks or old adhesive residue?
Minor repairs, like patching holes or sanding uneven spots, create a flawless base.
Elevated Tile and Remodeling always starts with a detailed assessment to ensure long-term durability.
Can You Install a Mosaic Tile Backsplash Over Existing Tiles?
This is a common question, and the answer is yes—with proper prep work. If your existing tiles are in sound condition (no cracks, loose spots, or major unevenness), you can absolutely create a fresh new look right on top of them.
Before you dive in, here’s what matters most:
- Thorough Cleaning: Remove all grease, soap scum, and dust so nothing interferes with adhesion.
- Surface Roughening: Use sandpaper or a rubbing stone to scuff up the glossy finish on the old tiles. This gives the adhesive something to grip.
- Priming: Apply a tile primer (like MAPEI Eco Prim Grip or LATICRETE Prime-N-Bond) for a reliable bond between the old tiles and your new mosaic sheets.
Once everything’s prepped, you’re ready to move on to laying out your mosaic pattern and planning your installation approach.
Planning the Mosaic Tile Layout
A thoughtful layout is the secret behind every showstopping backsplash. Start by measuring your walls with care—you'll want precise numbers to minimize surprises once installation begins. Next, “dry fit” your mosaic sheets on the floor or countertop, arranging them as you’d like them to appear on the wall. This lets you visualize the final pattern and spot any tricky spots around outlets, corners, or cabinetry before adhesive ever touches your surfaces.
Grab a level and a straightedge to mark gentle guide lines directly onto your smooth, prepped wall. These lines act as your roadmap, ensuring the first tile sheet starts straight and each subsequent piece falls perfectly into place. Planning where you’ll need to make cuts—particularly along the edges or around fixtures—saves both time and materials on installation day.
Elevated Tile and Remodeling takes it a step further by mapping out every detail, ensuring your space looks cohesive from any angle. With your design fully sketched and surfaces ready, you’re set up for a streamlined, stress-free installation.
Gathering Materials and Tools
Nothing slows progress like missing supplies. Create a checklist that includes:
- High-quality adhesive and grout
- Spacers for consistent gaps between pieces
- A notched trowel and level
To ensure a seamless installation, gather the following essential tools before you begin:
- Work gloves (protect your hands from sharp edges and adhesives)
- Small tooth trowel (perfect for applying adhesive evenly)
- Two buckets (one for mixing, one for cleaning)
- Chalk or pencil (for marking straight cuts and layout lines)
- Tape measure (precise measurements eliminate surprises)
- Grout float (for smooth grout application)
- Grout shaper (to create clean, uniform lines)
- Caulk gun (for finishing edges and sealing joints)
- Tile nippers (for detailed cuts around outlets or corners)
- Electric saw or hand grinder with a tile blade (to handle tougher cuts with accuracy)
“Having all supplies on hand before starting prevents mid-project hiccups and keeps the workflow smooth.”
Local hardware stores in Colorado Springs stock everything you need, but professionals like
Elevated Tile and Remodeling streamline this process with curated material lists tailored to your space.
Selecting the Best Adhesive for Mosaic Tile Backsplashes
Choosing the right adhesive is crucial for both appearance and longevity. For most mosaic tile backsplashes, a high-quality thinset mortar is the top choice. This type of adhesive provides strong, reliable bonding power for glass, porcelain, and natural stone mosaics—ensuring each individual piece stays put over time.
When shopping, look for a polymer-modified thinset mortar, such as MAPEI’s Kerabond or CUSTOM’s Versabond. These are specially formulated to deliver superior adhesion, flexibility, and moisture resistance, making them well-suited for steamy kitchens and bathrooms.
Here’s why thinset mortar stands out:
● Optimized for Mosaic Tiles: Fine, even consistency supports intricate designs and delicate pieces.
● Superior Bond Strength: Keeps tiles firmly attached, even in areas prone to splashes and temperature changes.
● Water-Resistance: Prevents moisture from seeping behind tiles, protecting against mold.
Avoid using mastic adhesive for glass or natural stone mosaics, as it may discolor the tiles or fail to cure properly in moist environments. Always follow the manufacturer’s mixing guidelines, preparing only as much as you can use within about 20 minutes—this prevents the adhesive from drying out before application.
By starting with the right adhesive, you set the stage for a stunning, long-lasting backsplash installation.
Step-by-Step Installation Process
Executing a flawless installation requires methodical attention to detail. Follow these best practices to achieve polished results that stand the test of time.
Surface Preparation and Cleaning
Start by removing dust, grease, or old residue from walls. Use a degreaser for kitchens and mildew cleaner for bathrooms. Fill cracks with patching compound and sand until smooth. A level surface ensures proper adhesion and prevents uneven layouts.
Adhesive Application and Tile Placement
Apply thin-set mortar with a notched trowel, creating uniform ridges. Press sheets firmly into place, using spacers for consistent gaps. Check alignment frequently with a level. Pro tip: Work in small sections to prevent adhesive from drying too quickly.
For best results, mix your thin-set mortar according to the manufacturer’s instructions—only prepare as much as you can use within about 20 minutes, so it doesn’t set up before you’re ready. Use the flat side of your notched trowel to spread mortar onto a small area, following your layout lines. The grooves from the notched edge help the tiles grip securely. Working in manageable sections not only prevents the adhesive from skinning over, but also ensures you have time to adjust placement and maintain a consistent look across the entire wall.
Cutting Mosaic Tile Sheets
Most mosaic tiles come attached to a mesh backing, making them easy to customize for your space. If you need to adjust the size of a sheet, simply flip it so the tiles face down. Use a sharp utility knife or heavy-duty scissors to trim through the mesh between tile pieces—no special tools needed for this part.
For more precise cuts—like fitting tiles around outlets, corners, or awkward angles—use a tile cutter, wet saw, or tile nippers to trim individual tiles as needed. Apply gentle, steady pressure to avoid cracking delicate mosaic pieces. Always mark your measurements first with a pencil and a level to ensure straight edges. Taking a few extra moments to prep and measure makes all the difference, ensuring a clean, professional fit and saving time during installation.
Installing the First Sheet of Mosaic Tiles
Locate the exact center of your installation area and mark reference lines using a pencil or chalk. This helps anchor your layout and keeps patterns symmetrical. Position your first mosaic sheet at the intersection, gently pressing it into the freshly applied thin-set mortar. For even coverage, tap the sheet lightly with a grout float or a flat piece of wood—this ensures every tile sits firmly and level on the wall.
Keep a level or straight edge handy to confirm the tiles are flush and properly aligned. If your mosaic sheets don’t come with a mesh backing or preset spacers, insert tile spacers between individual tiles to maintain uniform gaps. Take a step back periodically and assess both alignment and level as you continue; a careful start makes the entire wall easier to complete and creates a sleek, professional look.
Adding Additional Mosaic Sheets
Continue working methodically in manageable sections, applying fresh adhesive as you go. Carefully position each new mosaic sheet so the edges line up perfectly with the previous ones—this keeps the overall pattern uniform and professional. Use spacers between sheets to maintain consistent joints and help avoid visible seams down the line.
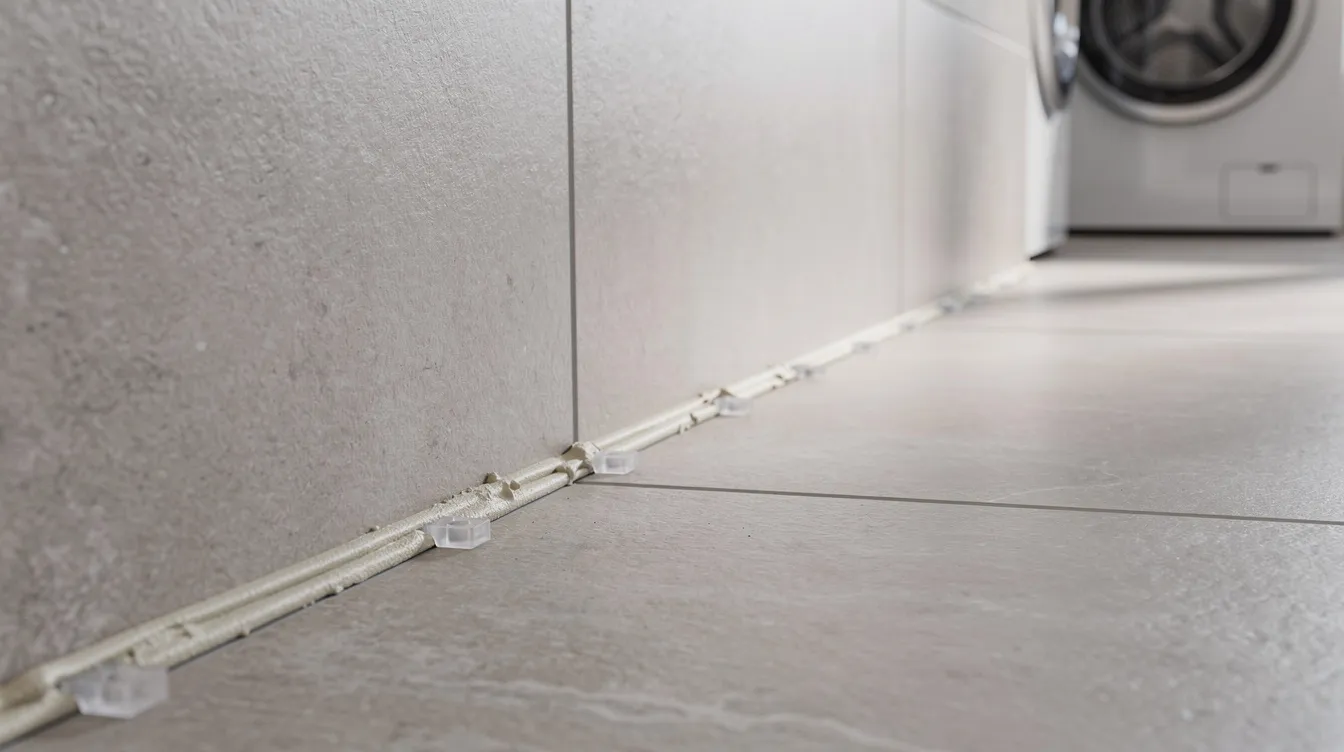
For expansion, remember to leave a small gap—about 1/8 inch—where the tile meets adjoining surfaces like countertops or side walls. This allows for natural movement and helps prevent cracking later.
Once all the sheets are in place and aligned, let the adhesive cure fully per the manufacturer’s instructions before proceeding to grout. This patience pays off in durability and a flawless finish.
Grouting and Finishing Touches
Grouting and Finishing Touches
Once all the tiles are in place, allow the adhesive to dry completely—typically for at least 24 hours or as specified by the manufacturer. Avoid touching or disturbing the tiles during this time to ensure a secure bond. Once adhesive cures, spread grout diagonally across gaps using a rubber float. Wipe excess with a damp sponge before it hardens. After 24 hours, apply sealant around edges and fixtures for water resistance. This final step locks out moisture and completes the job.
For best results, mix grout in a clean bucket, following the manufacturer's instructions—aim for a consistency similar to peanut butter. Only prepare as much grout as you can use within 20 to 30 minutes, as it can dry out quickly. If you’re working on a mosaic backsplash, start from the bottom and work your way up; for floors, begin furthest from the door and move backward so you don’t paint yourself into a corner.
Hold your rubber grout float at a 45-degree angle and work the grout diagonally across the surface, pressing it firmly into every gap. Wipe away excess grout with a damp sponge, rinsing and wringing frequently to avoid spreading haze. Keep a bucket of clean water handy and change it often for best results.
Common Pitfalls to Watch Out For
Even seasoned DIYers can run into a few classic missteps during this stage. To keep your project on track, keep these important tips in mind:
- Prep Matters: Make sure the surface is squeaky clean before you start grouting. Any leftover dust, grease, or debris can prevent proper adhesion and compromise your finish.
- Goldilocks Rule for Adhesive: Avoid using too much or too little adhesive—spread it evenly with a notched trowel for the right amount. Too thick, and tiles may shift; too thin, and you risk loose tiles down the line.
- Don’t Skip Sealing: Especially in kitchens and baths, sealing your grout after it cures helps prevent stains, mold, and premature wear. A little extra effort here goes a long way in keeping your backsplash looking sharp.
By steering clear of these common mistakes, you’ll set yourself up for a professional-looking result that stands the test of time.
Let the grout set for 15 to 30 minutes, then use a grout shaper or your damp sponge to clean up any remaining residue. Allow grout to fully cure as directed by the manufacturer—typically 24 to 72 hours—before exposing the surface to water or heavy use.
Safety and Maintenance Tips
- Always wear gloves when handling chemicals
- Test adhesive spread consistency on scrap material first
- Use pH-neutral cleaners for post-installation maintenance
A little patience here ensures your project not only looks sharp but stands up to daily wear.
Choosing the Right Materials and Design
Your material choices set the tone for your space’s style and longevity. From sleek porcelain to earthy natural stone, each option brings unique benefits and challenges. Let’s explore how to match your vision with practical needs.
Selecting Tiles, Natural Stone, and Porcelain Options
Porcelain offers scratch resistance and low maintenance, ideal for busy kitchens. Natural stone, like marble or slate, adds organic texture but requires regular sealing. Ceramic provides budget-friendly versatility, while glass creates reflective depth in smaller rooms.
Consider traffic levels and moisture exposure. Porcelain handles spills and heavy use effortlessly. For bathrooms, opt for textured surfaces to prevent slips. Elevated Tile and Remodeling often recommends combining materials—like stone accents with ceramic fields—for visual interest without compromising durability.
Design Considerations for Kitchens and Bathrooms
Match your tiles to existing elements. Warm-toned stone complements wooden cabinets, while crisp white porcelain brightens modern kitchens. In bathrooms, larger formats reduce grout lines, simplifying cleaning.
Current trends favor bold geometric patterns or muted, earthy palettes. Remember: intricate designs may need specialized cutting tools. “Balancing aesthetics with practicality ensures your space stays beautiful and functional,” notes a Colorado Springs design expert.
Always factor in long-term care. Polished surfaces show water spots, while matte finishes hide imperfections. Your local pros at
Elevated Tile and Remodeling can guide material selections tailored to Colorado’s climate and your daily routines.
Post-Installation Care and Maintenance
Your new wall feature deserves attention long after installation to stay vibrant. Proper upkeep prevents stains, discoloration, and structural issues while preserving its visual appeal. Let’s explore simple yet effective strategies to keep your surfaces looking pristine for years.
Cleaning, Sealing, and Routine Maintenance
Start with gentle cleaning using pH-neutral solutions and soft cloths. Avoid abrasive scrubbers or acidic cleaners, which can scratch surfaces or erode grout. Wipe spills promptly—especially oils or colored liquids—to prevent stubborn stains.
Sealing is crucial for moisture-prone areas like kitchens. Apply a penetrating sealant to grout lines annually using a small brush. This creates an invisible barrier against water damage and mildew. Pro tip: Test sealant on a hidden spot first to ensure compatibility.\
After your grout has fully cured, sealing isn’t just a formality—it’s the finishing touch that safeguards your investment. Using a grout sealer, apply an even coat over all grout lines, being careful not to get sealer on the tiles themselves. Follow the manufacturer’s drying instructions, and consider a second coat in high-traffic zones or around sinks and stoves for added protection.
Sealing not only preserves the clean, vibrant look of your backsplash, but also makes daily cleaning easier and helps prevent staining, discoloration, and everyday wear and tear. Don’t skip this step; it’s your tile’s final shield against the demands of busy kitchens and bathrooms.
For minor repairs, keep epoxy adhesive on hand to fix small chips. If a piece loosens, remove it carefully, clean the area, and reattach with fresh adhesive. “Addressing issues early avoids costly overhauls later,” advises a Colorado Springs remodeling specialist.
Quick maintenance habits make a big difference:
- Dust surfaces weekly to prevent buildup
- Re-caulk edges where walls meet countertops
- Inspect grout lines seasonally for cracks
These steps protect your home’s value and extend the life of your investment. When complex repairs arise, trust professionals like
Elevated Tile and Remodeling to restore flawless functionality. Ready to preserve your space’s beauty? Reach out today for personalized care solutions!
Elevated Tile and Remodeling: Your Colorado Springs Professional
Trusting your home’s transformation to skilled hands ensures lasting beauty and functionality. For Colorado Springs residents, Elevated Tile and Remodeling delivers craftsmanship that blends precision with personalized service. Their team tackles projects of all sizes, turning visions into reality.
About Elevated Tile and Remodeling
With years of experience, this licensed and insured company specializes in tile installation and repair services. They handle everything from kitchen upgrades to bathroom renovations, using premium materials and cutting-edge techniques. Clients praise their attention to detail and transparent communication throughout projects.
“They transformed my outdated kitchen into a modern masterpiece,” shares a local homeowner. “Every step was explained clearly, and the results exceeded expectations.”
Contact Us at 719-283-9569 for Expert Service
Ready to elevate your space? Call today to discuss your needs and schedule a consultation. The team offers:
- Custom design solutions tailored to your style
- Timely project completion with minimal disruption
- Comprehensive handyman services for post-installation adjustments
Don’t settle for uneven surfaces or DIY frustrations. Let professionals handle the heavy lifting while you enjoy the transformation. Reach out now at
719-283-9569—your dream space awaits!
Conclusion
A well-executed home upgrade combines careful planning with expert craftsmanship. From selecting durable materials to precise installation, every step impacts your space’s longevity and style. Proper surface prep, adhesive application, and grouting ensure your walls withstand daily wear while enhancing your kitchen or bathroom’s look.
Hiring skilled specialists saves time and prevents common DIY pitfalls like uneven layouts or moisture issues. Professionals handle everything from cracked tiles to complex patterns, ensuring flawless alignment. Their expertise minimizes risks of water damage and extends your project’s lifespan.
Regular cleaning and sealing preserve your investment, especially in high-traffic areas. Whether refreshing a kitchen wall or updating bathroom floors, quality workmanship matters. Elevated Tile and Remodeling offers a wide range of handyman services, blending technical skill with creative solutions tailored to Colorado Springs homes.
Ready to transform your space? Trust local pros to deliver stunning results that elevate daily life.
Call today at
719-283-9569—your dream design awaits!
Frequenty Asked Questions About Installing a Mosaic Tile Backsplash
How long does it take to install a backsplash?
The timeline depends on the size of the area and material type. Small kitchens may take a day, while intricate designs with natural stone or porcelain tiles could require 2-3 days. Proper adhesive drying and grout curing are key for lasting results.
Can I replace damaged tiles without redoing the whole backsplash?
Yes! Professionals can often remove cracked tiles and match replacements seamlessly. This saves time and cost compared to a full replacement. Always keep extra materials from the original project for easier repairs.
What’s the best way to protect my new installation from water damage?
Use a high-quality sealer, especially for porous materials like natural stone. Regular cleaning and avoiding harsh chemicals also help. In bathrooms, ensure proper ventilation to reduce moisture buildup near wall surfaces.
Are handyman services sufficient for complex designs?
While basic installations might work, intricate patterns or materials like glass or marble require specialized skills. Experienced installers ensure precise cuts, even spacing, and proper adhesive use to prevent future issues.
How do I choose between ceramic, porcelain, or stone options?
Consider durability, maintenance, and style. Porcelain resists stains and water, making it ideal for kitchens. Natural stone offers unique textures but needs sealing. Ceramic is budget-friendly and comes in versatile designs for bathrooms or accent walls.
Does Elevated Tile and Remodeling offer warranties?
Yes! We stand by our work with warranties covering labor and materials. Our team in Colorado Springs ensures every project meets high standards—call 719-283-9569 to discuss your needs and schedule a consultation.
Can backsplashes be installed over existing wall surfaces?
It depends on the condition of the current wall. Loose adhesive, uneven areas, or water damage must be addressed first. Proper surface preparation ensures your new installation adheres securely and lasts for years.
At Elevated Tile and Remodeling, we specialize in transforming high-end custom homes through exquisite bathroom remodels, expert tile installation, and meticulous interior finishes. Our dedication to craftsmanship and detail ensures that every project reflects our clients' unique visions, enhancing both beauty and functionality in the Colorado Springs area.