How to Clean Your Colorado Springs Porcelain and Tile Shower or Floor Surfaces
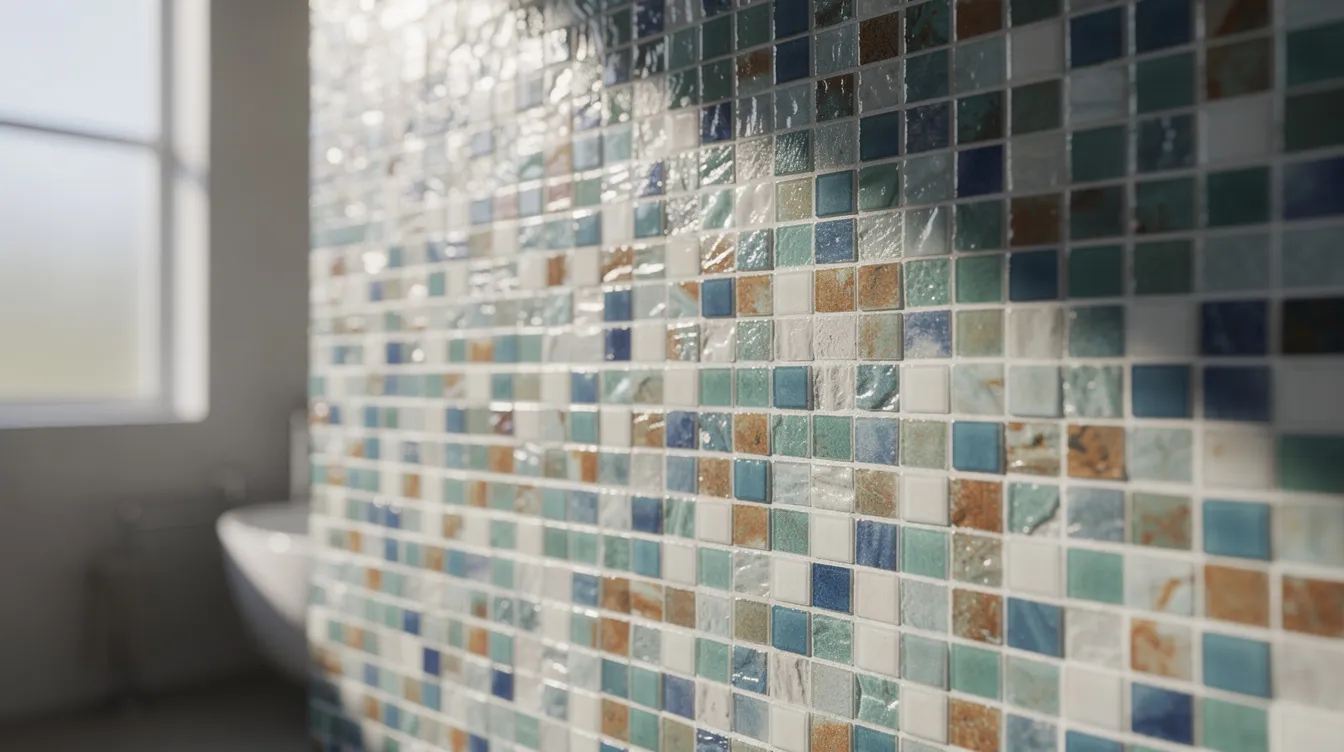
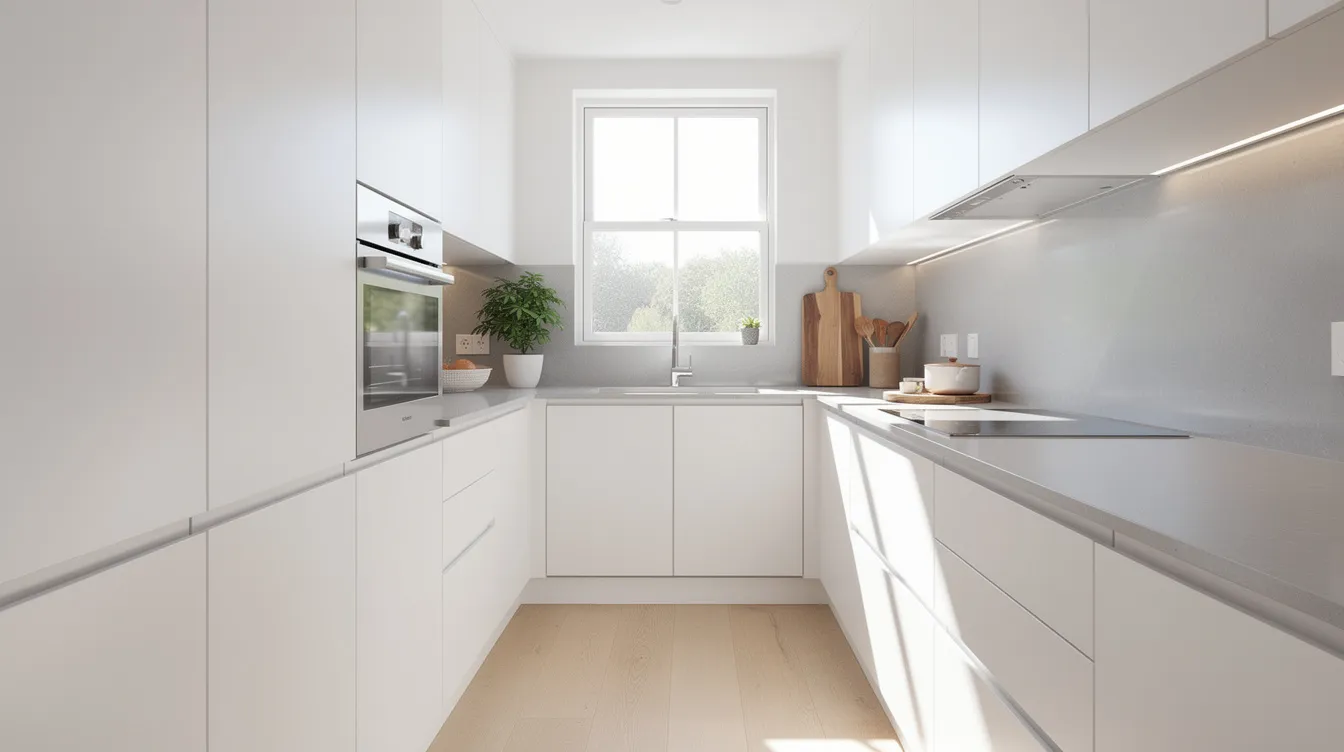
Tile is a beautiful way to accent the walls and floors in your kitchen, bathroom, and other areas of your home. However, the surface can quickly build up with dirt and grime, giving the entire room a dingy appearance.
Proper maintenance is essential for preserving the beauty and longevity of your tile surfaces, especially in high-moisture areas. At Elevated Tile and Remodeling in Colorado Springs, we've seen how regular maintenance can extend the life of tile installations by years.
For homeowners looking for professional tile maintenance or installation services in Colorado Springs, call us at 719-283-9569 or visit our website to get a FREE estimate.
Key Takeaways
- Understand the specific needs of different tile types to save time and money.
- Regular maintenance can extend the life of tile installations.
- Proper cleaning routines are crucial for maintaining tile surfaces.
- Know when to call professionals for tile maintenance or installation.
- Elevated Tile and Remodeling offers professional services in Colorado Springs.
Understanding Different Types of Tile Surfaces
Understanding your bathroom tile is essential for proper maintenance. Different tiles have unique characteristics that affect how they should be cleaned and maintained.
| Tile Type | Cleaning Method | Special Care |
|---|---|---|
| Ceramic and Porcelain | 50% lemon juice or white vinegar and 50% water | Durable, water-resistant |
| Natural Stone | Gentle soap or marble/stone cleaner | Porous, avoid acidic cleaners |
What is StepWise™ Technology?
StepWise™ is an innovative feature found in some porcelain tiles that enhances slip resistance—offering up to 50% more grip compared to standard tile surfaces. This added safety makes StepWise™-treated tiles an excellent choice for wet or high-traffic areas such as bathrooms, kitchens, and entryways.
Despite their advanced slip-resistant properties, tiles with StepWise™ technology don't demand any special maintenance routines. You can clean them just as you would any other porcelain tile surface, using mild cleaners and regular mopping. This means you get peace of mind without extra effort—a practical benefit for busy homeowners or anyone managing surfaces in moisture-prone areas.
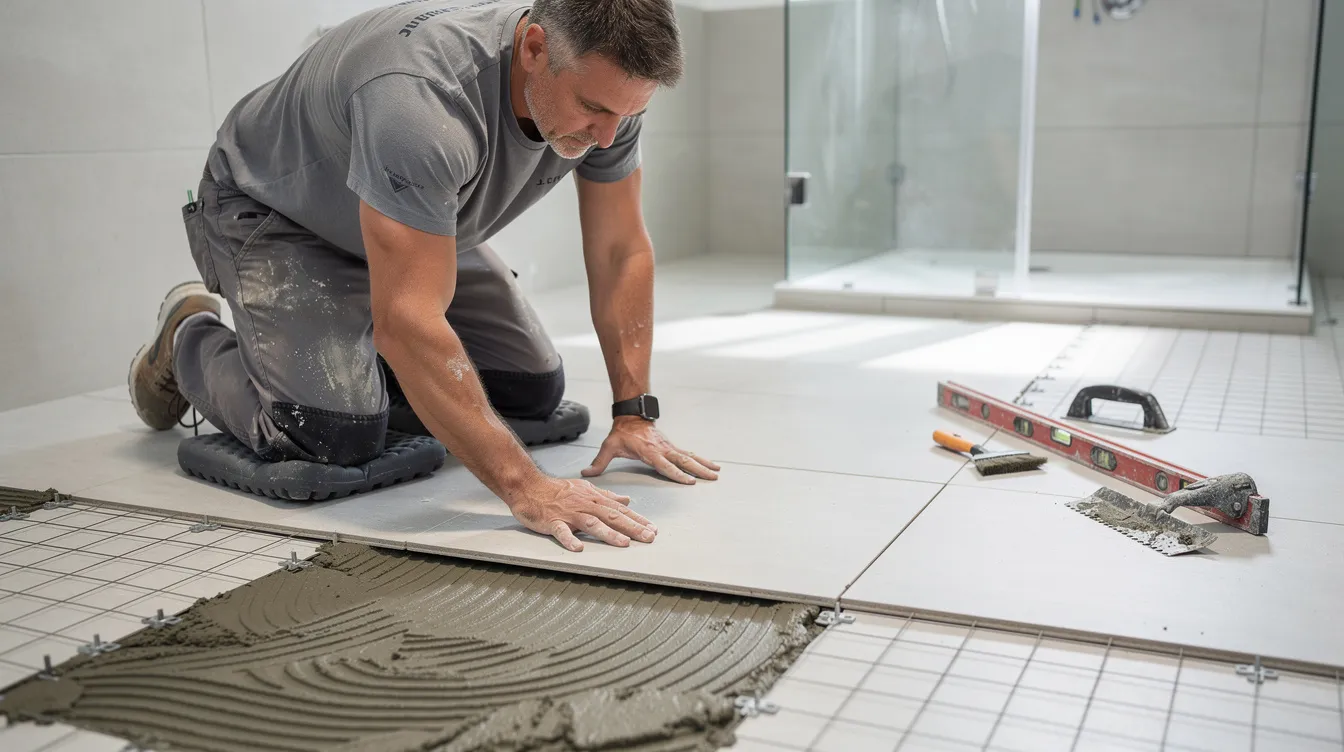
Post-Installation Care for Tile and Grout
After the tile and grout have been freshly installed, it’s important to follow a few key steps to ensure your new surface stays pristine during the final stages of any construction or remodeling:
- Protect the Surface: Cover the newly installed area with plain brown paper. This acts as a barrier against dust, debris, and accidental scratches, while still allowing moisture to escape so the materials can cure properly.
- Support Grout Curing: For the first week, gently dampen the grout lines each day using a clean sponge or mop and water (no cleaners yet). This daily moisture helps the grout cure evenly and helps prevent color inconsistencies.
Taking these precautions right after installation sets up your tile surface for maximum beauty and durability down the road.
Ceramic and Porcelain Tiles
Ceramic and porcelain tiles are popular for bathrooms due to their durability and water resistance. They’re not just practical—they also offer a flexible range of styles, easily fitting into both modern and traditional spaces, whether at home or in high-traffic commercial areas. Porcelain, in particular, stands out as a champion for floors, walls, and countertops, thanks to its enduring quality and versatility.
When it comes to cleaning, these tiles are refreshingly low maintenance. They can be cleaned with a mixture of 50% lemon juice or white vinegar and 50% water, as suggested by cleaning expert Sabrina Fierman. This simple solution helps keep tiles sparkling without harsh chemicals, maintaining both beauty and longevity.
Protecting Porcelain Tiles from Stains and Scratches
While porcelain tiles are champions when it comes to resisting scratches and stains, they aren’t invincible. With a little extra care, you can keep them looking fresh for years to come.
- Clean Up Spills Promptly: Although porcelain is tough against most stains—think juice, wine, coffee, and the occasional mud splash—it's smartest to wipe up spills right away. This prevents any chance of discoloration or stubborn stains taking hold.
- Handle Permanent Markers and Dyes with Caution: If your tiles come into accidental contact with ink or dye, act fast! Rinse the area well with water, then use a gentle, approved cleaning solution. Rinse and dry thoroughly to avoid marks setting in.
- Use Non-Abrasive Cleaners and Tools: Stick to soft sponges or microfiber cloths paired with non-abrasive cleaners. Avoid steel wool or harsh scrubbing pads that could scuff the surface.
- Don’t Chop Directly on Tiles: When prepping food, always use a cutting board rather than chopping right on your porcelain countertops or tiles. This avoids the risk of scratches from knives and sharp utensils.
- Sweep or Vacuum First: Before breaking out your mop, sweep or vacuum the area. This step scoops up loose dirt and debris that could otherwise scratch the surface during cleaning.
By following these habits, your porcelain surfaces will continue to shine—no matter what life (or dinner prep) throws their way.
Unglazed Porcelain Tiles
When it comes to unglazed porcelain tiles, a little extra attention goes a long way. These tiles don’t have the protective top layer found on glazed varieties, so they’re more prone to staining from everyday spills.
For the best results:
- Use a neutral pH tile cleaner specifically designed for unglazed surfaces. Skip harsh chemicals or acidic solutions, which can damage the tile’s finish.
- Mop or wipe down surfaces regularly to keep grease, oils, and dirt from building up.
- Address spills promptly—unglazed tile is less forgiving when it comes to stains.
- Rinse thoroughly with clean water after washing, and dry with a soft cloth to avoid streaks or water spots.
Regular, gentle cleaning will help preserve the natural look and texture of your unglazed porcelain tiles, ensuring they continue to look their best for years to come.
What to Do If Porcelain Surfaces Encounter Permanent Markers or Dyes
Even though porcelain tiles are tough and resist scratches, stains, and etching, they're not invincible—especially when it comes to permanent inks or dyes. If you accidentally get permanent marker or dye on your porcelain tile, act quickly:
- Rinse immediately: Start by rinsing the affected area with water as soon as you notice the mark. The faster you respond, the less likely the stain will set.
- Apply a gentle, approved cleaner: Use a non-abrasive tile cleaner or a solution designed for porcelain surfaces to gently clean the spot. Avoid harsh chemicals that could damage the finish.
- Rinse and dry thoroughly: Wipe away any residue with fresh water and dry the area completely to prevent any cleaner from lingering.
By addressing the stain promptly and using the right products, you can help preserve the pristine look of your porcelain tiles.
Removing Sealers, Waxes, and Finishes from Porcelain Tile
If you need to strip old sealers, waxes, or other floor finishes from your porcelain tile or countertops, there’s a safe method to get your surfaces back to like-new condition.
Start by selecting a quality tile sealer and adhesive remover. Always test it out on a small, hidden section of your tile first, just to be safe. Apply the remover generously to a section you can manage easily, making sure it stays wet—don’t let it dry out. Give it time to work until you notice the old sealer or finish softening.
You might need to reapply the product or gently agitate the area with a nylon scrub pad for stubborn spots. Once the residue is loose, wipe it away with a cotton towel or a sponge. Finish up by rinsing thoroughly with clean water to remove any leftover remover or grime.
A quick tip: Avoid using this method on natural stone tiles, as their surfaces require more delicate care.
Post-Installation Care for Porcelain Tile
After your porcelain tile has been freshly installed, a few simple steps can ensure the grout and tile remain in top condition right from the start.
- Cover the Surface: Place protective brown paper over the new tile. This shields the surface from construction dust while still allowing moisture to evaporate—crucial for proper curing.
- Moisturize the Grout: For the first week, dampen the grout joints once a day with clean water using a sponge or mop. This daily attention keeps the grout from drying too quickly and helps it maintain a consistent, attractive color.
Taking these precautions sets a solid foundation for both look and longevity, minimizing the risk of issues down the road.
Protecting Porcelain Surfaces: The Importance of a Cutting Board
While porcelain countertops are known for their resilience and charm, it's a smart move to use a cutting board any time you're working with knives or other sharp kitchen tools. Cutting directly on the surface—whether you're prepping veggies or slicing fresh bread—not only risks dulling your blades but can also leave behind scratches or scuffs over time.
For everyday cleaning, steer clear of abrasive pads or harsh cleaners. Instead, keep things simple with gentle products and tools, and sweep or vacuum up loose crumbs or debris before wiping things down. This approach helps preserve that unmistakable porcelain shine and keeps your counters looking their best for years to come.
Preventing Stains and Scratches on Porcelain Tile
Porcelain tiles are well-known for their scratch and stain resistance, but a little care goes a long way to keep them looking their best.
To avoid unwanted marks:
- Clean spills promptly. Although porcelain stands up to juice, coffee, and wine, wiping up spills right away can help prevent stubborn stains from setting in.
- Use a cutting board. Always chop, slice, or dice food on a cutting board, not directly on the tile—sharp utensils can still leave scratches on the surface over time.
- Skip the abrasive cleansers. Stick with soft cloths and non-abrasive cleaning products to protect the finish.
- Sweep or vacuum first. Before mopping, remove loose dirt and debris to avoid grinding grit into your tiles.
These small habits will help your porcelain bathroom tiles maintain their shine and durability for years to come.
Unglazed Porcelain Tiles
Unglazed porcelain tiles require a little extra attention compared to their glazed counterparts. Because they don’t have a protective coating, these tiles are more prone to absorbing grease, oils, and spills. To keep them looking their best, use a concentrated tile cleaner with a neutral pH—this helps lift everyday grime without harming the tile surface.
Pro tip: Avoid acidic or highly alkaline cleaners on unglazed porcelain, as these can damage the tile over time. Stick to regular cleaning with the right products to maintain their original appearance.
Removing Sealers, Waxes, and Floor Finishes from Porcelain Tile
Over time, your porcelain tile may build up layers of sealers, waxes, or floor finishes that need to be stripped away to restore the original look. Here’s how you can safely tackle this process:
- Choose the Right Remover:
Use a tile sealer and adhesive remover specifically designed for porcelain surfaces. Always check that the product is suitable for your tile type and does not contain harsh chemicals that could cause damage. - Test a Small Area First:
Before starting, apply the remover to a small, hidden section of the tile. This way, you’ll ensure it won’t discolor or damage the finish. - Application:
- Generously apply the undiluted remover to a manageable section of the tile.
- Let it sit so that the sealer or wax softens. Avoid letting it dry out during this process.
- If needed, reapply the remover to stubborn areas and allow it time to work.
- Removal:
- Once the finish has softened, use a cotton towel, sponge, or a nylon scrub pad to gently agitate the area and lift away the residue.
- Repeat the process as needed for thicker or more stubborn build-up.
- Final Rinse:
Rinse the area thoroughly with clean water to remove any leftover remover and residues.
Pro tip:
Do not use tile or grout sealer removers meant for porcelain on natural stone surfaces, as they can cause permanent damage. Always double-check the label and when in doubt, consult a professional.
By following these steps, you can keep your porcelain tile looking its best while avoiding unnecessary wear, ensuring a clean surface to enjoy for years to come.
Porcelain Tiles with Enhanced Slip Resistance
Porcelain tiles featuring enhanced slip resistance—often described as having a textured or treated surface—do not require any special cleaning routine. You can clean these tiles just as you would standard porcelain: a gentle mix of lemon juice or white vinegar with water works well for everyday maintenance. Their slip-resistant properties are built in, so there’s no need for extra steps or specialized products. Just follow your usual care routine to keep them looking great and performing safely.
Removing Grout Haze from Porcelain Tile
After installing your new porcelain tile, you may notice a thin film—called grout haze—left on the surface. This cloudy residue is common and, thankfully, can be removed with the right approach to keep your tiles looking vibrant and clean.
Here’s how to tackle grout haze on porcelain tile:
- Wait for the Grout to Set: Allow the grout to cure for 12–24 hours before you begin cleaning.
- Choose the Right Cleaner: For most cement-based grout, you’ll want to use a sulfamic acid-based grout haze remover. These come in powder form and are mixed with water—just follow the package instructions for the correct strength.
- Gentle Application: Apply the solution with a soft sponge or cloth, working in small sections. Give the cleaner time to break down the haze, then buff gently with a clean, damp cloth.
- Epoxy Grout Needs Special Care: If your grout is epoxy-based, use a specially formulated epoxy haze remover—never use the acid-based version, as it won’t be effective on epoxy.
- Avoid on Natural Stone: Keep in mind: these haze removers are safe for most porcelain and ceramic tiles but should never be used on natural stone, as acids can damage those surfaces.
Always finish by wiping the area with clean water to remove any leftover residue. When in doubt, test your chosen cleaning method on an out-of-the-way spot first or reach out to our team at Elevated Tile and Remodeling for professional advice.
Protecting Porcelain Countertops During Food Prep
To keep your porcelain countertops looking flawless, a few simple habits go a long way—especially when it’s time to cook up a storm. Always use a cutting board when slicing, dicing, or chopping with sharp knives. This prevents accidental scratches and keeps those beautiful surfaces pristine for years to come.
Before cleaning, sweep or vacuum any loose crumbs or debris off your tiles so dirt doesn’t become an abrasive culprit when you wipe down. When it’s clean-up time, choose non-abrasive sponges and cleaners so you don’t leave behind scratches or dull spots. And, just like you’d treat a fresh spill on your favorite T-shirt, wipe up any food or liquid messes right away—porcelain is stain resistant, but quick action helps maintain its luminous finish.
By making these steps part of your routine, you’ll keep your porcelain countertops in top-notch condition, ready for family meals or your next baking adventure.
Natural Stone Tiles
Natural stone tiles, such as marble and granite, add a luxurious touch but require special care. They are porous and can be damaged by acidic cleaners, so a gentle soap or a marble/stone cleaner is recommended.
Identifying Your Bathroom Tile Type
Before applying any cleaning solution, it's crucial to identify your bathroom tile type. Testing a new cleaner on a small, inconspicuous area first is advisable. For professional advice, call Elevated Tile andRemodeling at 719-283-9569 or get a FREE estimate.
Essential Supplies for Tile Maintenance
To keep your tiles looking their best, it's crucial to have the essential supplies on hand. Maintaining your tile surfaces in Colorado Springs homes requires the right tools and cleaning solutions to prevent damage and keep them looking new.
Basic Cleaning Tools
Having the right cleaning tools makes tile maintenance easier. A microfiber cloth is essential as it cleans without scratching delicate surfaces. A good quality spray bottle allows for even application of cleaning solutions, while a soft-bristled brush is perfect for grout lines without causing damage. For most Colorado Springs homes, a basic kit with these tools is recommended.
Recommended Safety Equipment
When working with cleaning products or materials during tile and grout installation, safety should always come first. To protect yourself from harsh chemicals and airborne particles, it’s wise to use:
- Safety glasses to shield your eyes from splashes.
- Gloves (preferably chemical-resistant) to prevent skin irritation or burns.
- Respirators or high-quality masks to avoid breathing in dust or fumes, especially when mixing or applying grout and sealants.
This basic safety gear goes a long way in ensuring your tile maintenance and installation projects are both effective and incident-free.
Recommended Cleaning Solutions
When selecting cleaning solutions, remember that harsh chemicals can damage both tile and grout. For ceramic and porcelain tiles, mild dish soap diluted in warm water is often sufficient. For natural stone, specially formulated stone cleaners are required to prevent etching and discoloration. Using the right cleaning solution with a sponge or cloth will keep your tiles clean and maintained.
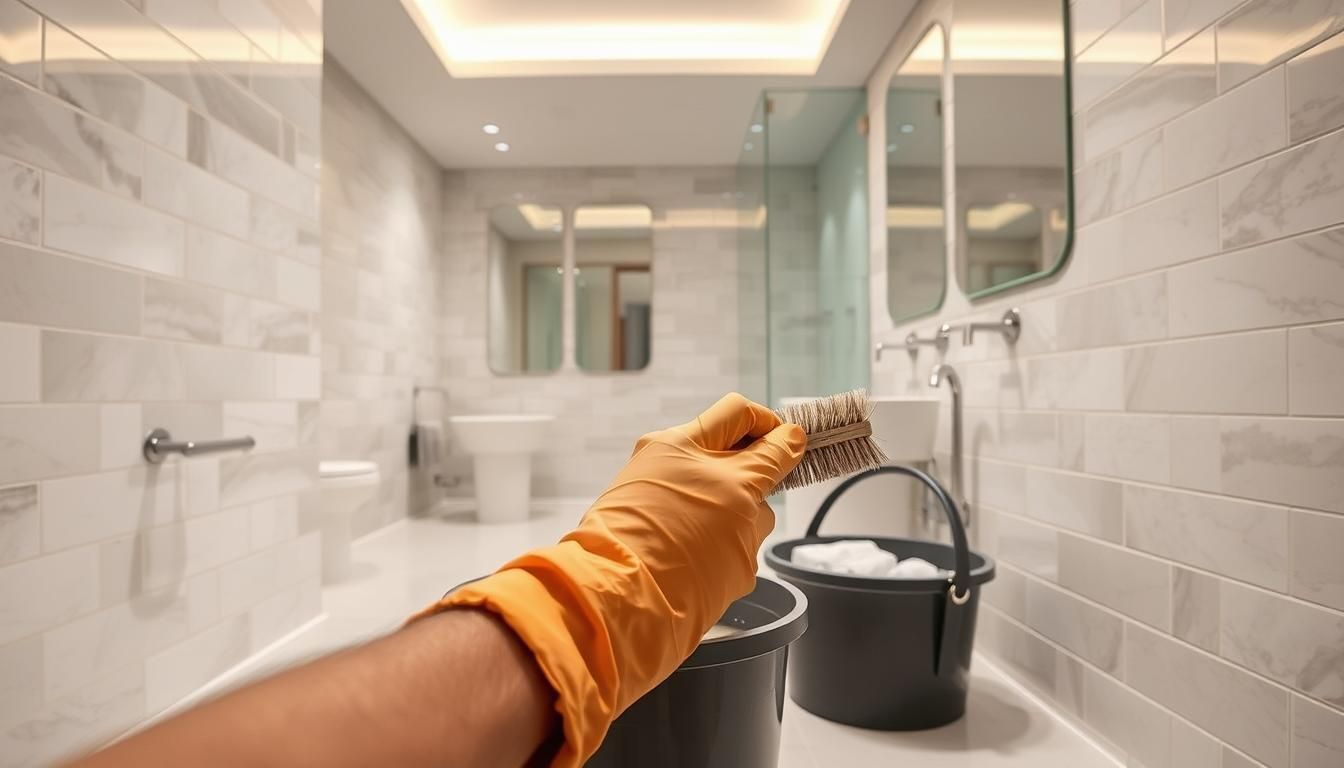
Safety Precautions for Tile Cleaning and Maintenance
Before you dive into cleaning your bathroom tiles, safety comes first. Many cleaning products—even some everyday options—can contain chemicals that may irritate the skin, eyes, or lungs if not handled carefully.
- Wear Protective Gear: Equip yourself with safety glasses to shield your eyes from accidental splashes, and always use gloves to protect your hands—especially if you have sensitive skin or are working with stronger cleaning agents. If you’re using sprays, a mask or respirator is a smart choice to avoid inhaling any fumes.
- Ventilate the Area: Open windows or use a fan to keep fresh air circulating. This helps disperse any lingering vapors, keeping the bathroom safe while you work.
- Dispose of Waste Responsibly: Any leftover cleaning solutions, dirty rags, or scraps from old tiles should be thrown away according to your local guidelines—never down the drain or outside.
- Read Labels Carefully: Take a moment to review the instructions and warnings on all cleaning products. Some solutions aren’t suitable for every type of tile or grout, and following directions helps avoid accidents or surface damage.
By taking these practical steps, you’ll keep both your bathroom and yourself safe, ready to enjoy the long-lasting beauty of your tile surfaces.
Safety Precautions When Using Tile and Grout Products
Whenever you're working with installation or maintenance products for tile and grout, a bit of caution goes a long way—whether you’re handling a gallon of grout sealer or trying out a new cleaner. Here are a few tips to help keep your project safe and successful:
- Always read the label first. Different products can have specific handling instructions, unique to each manufacturer—so be sure to reference guidelines from trusted brands before you start mixing or spraying.
- Test before tackling the whole area. Apply a small amount of any new product on a hidden section of your tile or grout. This helps you catch potential staining, discoloration, or other unwanted surprises before they spread.
- Protect yourself. Most tile and grout solutions contain chemicals that shouldn’t come in direct contact with your skin, eyes, or lungs. Put on gloves, safety glasses, and a mask (especially if there’s dust or fumes) before getting started.
- Ventilate your space. Open windows and run a fan if you’re working indoors to help minimize lingering fumes and keep your workspace comfortable.
- Dispose of leftovers responsibly. Don’t pour extra cleaner or solvent down the drain. Instead, check your local waste disposal guidelines in Colorado Springs to ensure tile scraps and chemical containers are discarded properly.
With a little preparation and the right gear, you can keep your bathroom sparkling—and keep yourself safe in the process.
How to Clean Bathroom Tiles Effectively
Effective bathroom tile cleaning is a simple yet crucial task for a clean and healthy bathroom environment. Regular cleaning not only enhances the appearance of your bathroom but also prevents the buildup of dirt and grime that can lead to more serious issues.
Daily Maintenance Tips
Daily maintenance is key to keeping bathroom tiles looking their best. Simply wiping down shower walls with a squeegee after each use can prevent soap scum and hard water deposits. For quick spot cleaning, keep a spray bottle with diluted dish soap and water in your bathroom.
Weekly Cleaning Routine
Establish a weekly cleaning routine that includes thoroughly spraying tiles with a gentle cleaner, scrubbing lightly, and rinsing with clean water to maintain shine and prevent buildup. This routine will help keep your bathroom tiles clean and reduce the need for harsh chemicals.
Tackling Stubborn Stains
When tackling stains, make sure to identify the type of stain first. For organic stains like mold, a different treatment is required than for mineral deposits from hard water. For tough stains, a paste made from baking soda and water can be effective. Apply the paste, let it sit, and then scrub gently before rinsing.
Removing Permanent Ink or Dye from Porcelain Tile
Porcelain tiles are tough and highly resistant to most stains, but they’re not invincible—especially when it comes to permanent ink or dye. If you notice a spill from a marker or dye, act quickly to prevent staining.
Start by immediately rinsing the affected area with clean water to minimize absorption. Next, use a gentle, approved porcelain cleaner or a mixture of mild dish soap and water. Apply it with a soft cloth, working in a circular motion. For stubborn marks, you may try a small amount of rubbing alcohol or a specialized stain remover labeled safe for porcelain. Rinse thoroughly with water and dry the area with a clean towel.
Prompt action and gentle cleaning solutions can help keep your porcelain tile looking flawless.
For particularly challenging tile maintenance issues, consider professional help. Elevated Tile and Remodeling offers professional cleaning services in Colorado Springs - get a FREE estimate.
Proper Grout Cleaning Techniques
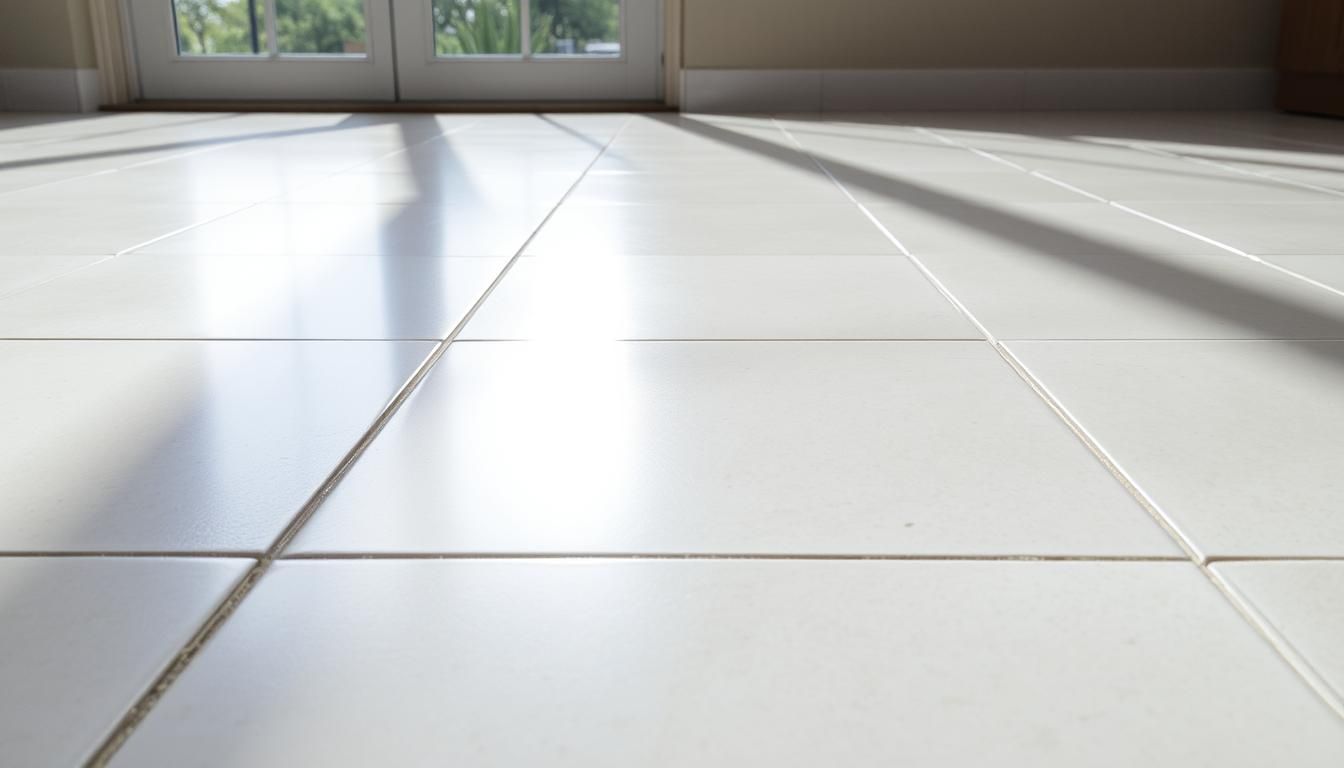
Grout is a crucial component of tile installations, and its maintenance is often overlooked. The condition of your grout can significantly impact the overall appearance of your tile surfaces.
Why Grout Matters for Tile Longevity
Grout plays a vital role in extending the life and performance of your porcelain tile installation. It doesn’t just fill the gaps between tiles—it provides essential support that helps distribute stress, allowing tiles to expand and contract without cracking or shifting. By absorbing slight movements and sealing the joints, grout minimizes tile breakage and protects against moisture seeping underneath, which could compromise your entire installation over time. Regular grout maintenance ensures your tile surfaces in Colorado Springs stay beautiful and structurally sound for years to come.
What Is Grout and Why Does It Matter?
Grout is the material applied between tiles to support and lock them into place. Beyond simply filling the gaps, grout absorbs some of the natural movement in your floor, limiting tile breakage and helping your installation withstand daily wear in busy Colorado Springs homes.
Because grout sits slightly below the surface of your tile, it’s more likely to collect dirt, moisture, and grime. Over time, this can cause the grout lines to darken or discolor—making the entire floor look aged, even if your tiles are still in great shape. That’s why careful, regular grout maintenance is essential. Well-kept grout doesn’t just help your floors look fresh; it also extends the life of your entire installation.
What Does Grout Do in Tile Installations?
Grout does more than just fill the gaps between your tiles—it helps hold your tilework together and gives your installation lasting strength. By supporting the tiles and allowing for just enough flex, grout helps minimize cracking or shifting, especially in busy areas like bathrooms and kitchens. In short, well-maintained grout is essential for both the durability and the finished look of your tiled surfaces.
Identifying Grout Problems
Grout is prone to discoloration, cracking, and crumbling, which can compromise the integrity of your tile installation. Regular inspection can help identify these issues early on.
Dealing with Grout Haze After Installation
After new tile installation, you may notice a thin, cloudy film on the tile surface—this is known as grout haze. It forms as residual grout dries on the tile, often going unnoticed until the project is finished and everything has cured.
To remove grout haze, wait 12 to 24 hours after grouting for the material to set. For most ceramic or porcelain tiles, mix a sulfamic acid-based grout haze remover (readily available at home improvement stores like Home Depot or Lowe’s) according to package instructions, and use a soft cloth or sponge to buff away the film. This breaks down and lifts the residue without harming the grout or tile. Remember, if you’ve used epoxy grout, be sure to pick up a remover specifically formulated for epoxy residues.
A quick word of caution: Never use grout haze removers on natural stone, as acids can cause permanent etching. For stone surfaces, stick to pH-neutral cleaners and consult your installation professional for tailored advice.
Regular checks and the right cleaning approach will keep your new tile surfaces sparkling and haze-free.
What Is a Grout Stain and How Is It Used for Restoration?
If your grout has reached the point where regular cleaning no longer restores its appearance—no matter how much elbow grease or baking soda paste you throw at it—it might be time to consider a grout stain.
A grout stain is a specially formulated, epoxy-based product designed to penetrate grout lines and provide a fresh, uniform color. This process not only revives discolored or uneven grout but also seals it, helping protect against future stains and buildup.
Here's how you use a grout stain for restoration:
- Preparation is key: Before applying any stain, make sure grout joints are free of dirt, grease, or old sealers. Use a professional-strength tile and grout cleaner, readily available at most home improvement stores or flooring retailers.
- Apply the stain: Once the grout is thoroughly cleaned and dried, carefully apply the grout stain with a small brush or applicator, ensuring full coverage along each line.
- Wipe away excess: Immediately remove any excess stain from the surface of the tile to avoid residue or uneven coloring.
- Let it cure: Allow the stain to dry completely per product instructions. The end result should be consistent color and renewed protection—no additional sealing required.
Grout stains can be a practical, cost-effective option for refreshing older tile installations in Colorado Springs homes—especially when paired with regular tile maintenance.
Cementitious vs. Epoxy Grout Haze Removal
Not all grout haze is created equal, and the method you use to tackle haze will depend on whether you’re dealing with cementitious or epoxy grout.
For most ceramic and porcelain tile installations, cementitious grout haze can be buffed off once the grout has cured—typically after 12 to 24 hours—with a dedicated grout haze remover. These products usually contain sulfamic acid and come in powder form. Simply mix the powder with water following the manufacturer's instructions, apply to the affected tile, and gently buff away the cloudy film. This breaks down the cement-based residue without harming your grout or tile.
Epoxy grout haze, however, calls for a different approach. Epoxy haze cleaners are specifically formulated to break down the sticky, resinous residue left behind by epoxy grouts—standard haze removers for cement grout just won’t cut it here. Be sure to choose an epoxy haze remover, always double-check that it’s suitable for your tile, and avoid using these products on natural stone, which can be sensitive to strong cleaners.
In summary:
- Cement grout haze: Use a sulfamic acid-based haze remover, safe for tile but not natural stone.
- Epoxy grout haze: Select a remover specially formulated for epoxy; standard haze removers won’t be effective.
Regular maintenance and prompt haze removal after grouting can keep your tile installations looking sharp for years to come.
DIY Grout Cleaning Solutions
For moderately soiled grout, a paste made from baking soda and water can be effective. Apply the paste to the grout lines, scrub with a medium-bristle brush, and let it sit for about 15 minutes before rinsing with warm water and drying with a microfiber cloth.
How Grout Stains Work—and How to Prepare for Them
If your grout has reached a point where cleaning isn’t enough to restore its original color, applying a grout stain can be a game-changer. Grout stain is a special, epoxy-based colorant designed to both recolor and seal grout in a single step. It not only refreshes the look of your tiles but also adds a protective barrier, making future cleaning easier and sealing out stains.
Preparation is key:
Before applying grout stain, it’s essential that the grout lines are completely free of dirt, grease, soap scum, and any previous sealers. Start by giving your grout a deep clean with a professional-strength tile and grout cleaner—these are widely available at home improvement stores or from reputable brands like Zep, Aqua Mix, or Miracle Sealants. After cleaning, allow the grout to dry thoroughly to ensure the stain adheres properly. Once applied, grout stain locks in color and eliminates the need for a separate sealer, providing both form and function in one easy solution.
Choosing the Right Grout Haze Remover
Not all grout haze removers are created equal, so it’s important to match the product to the type of grout you’ve used. For most ceramic or porcelain tile installations with standard cementitious grout, look for a grout haze remover that features a sulfamic acid base—these come in powder form and are mixed with water for application. Sulfamic acid effectively breaks down the film cement grout can leave behind, making cleanup straightforward once the grout has had time to cure (usually 12–24 hours).
If you’ve installed epoxy grout, steer clear of standard haze removers. Instead, opt for specially formulated epoxy haze removers, which are designed to tackle the residue unique to epoxy products. Both types are generally safe for tile and cured grout, but always double-check that your chosen remover is suitable for your surface—especially if you’re working with natural stone, as acid-based solutions can cause etching or damage.
With the right product, you’ll reveal spotless tiles while keeping your grout in top condition.
For routine grout cleaning, you can use a daily concentrated household or commercial cleaner, depending on your specific needs. These cleaners help remove surface buildup and keep your grout looking fresh. When faced with heavy-duty grime—like stubborn grease, soap scum, oils, mildew stains, or old waxes—opt for a professional-strength tile and grout cleaner. Look for products labeled as low-VOC and free from polluting chemicals to keep your bathroom safe and eco-friendly. Such cleaners are readily available at most home improvement stores or through reputable floor covering retailers.
If you’re tackling particularly tough messes, select a cleaner specifically formulated to handle not just everyday dirt but also the likes of algae and synthetic or acrylic waxes, which can sometimes linger in grout joints. These professional-grade solutions are designed to penetrate deep, breaking down buildup without harming your tile or grout. For best results, carefully follow the manufacturer’s instructions—ensuring proper ventilation and using gloves as needed—to achieve a sparkling, residue-free finish.
If standard methods aren’t cutting it, or if your grout has extensive buildup, consider reaching out to professional grout cleaning services. They have the expertise and specialized products to tackle even the toughest grout challenges and can help restore both the cleanliness and integrity of your tile surfaces.
When to Reseal Grout
It's recommended to reseal grout every six months to maintain its stain resistance. Unsealed grout can absorb water, dirt, and bacteria, leading to permanent staining and potential mold growth.
Why Grout Sealing Matters
Cementitious grout, which is common in most tile installations, is naturally porous and can easily absorb spills and stains if left unprotected. Applying a penetrating or impregnating sealer (preferably one that does not contain silicone) helps the grout resist moisture absorption, spills, and stains—preserving its original color and reducing long-term maintenance. Unlike glazed tile surfaces, which generally don’t need sealing, grout is much more vulnerable and benefits greatly from this extra layer of protection.
How Often Should You Reseal?
While some high-quality sealers can last several years (always check the product information and warranties), the frequency of resealing also depends on traffic patterns, how often the area is cleaned, and overall usage. In high-traffic bathrooms or kitchens, sticking to a six-month resealing schedule is a safe bet for consistent protection. Regular inspection of your grout lines will help you spot when resealing is needed—look for signs like increased discoloration or water no longer beading on the grout surface.
Keeping up with resealing not only makes future cleanings easier but also extends the life and appearance of your tile installation.
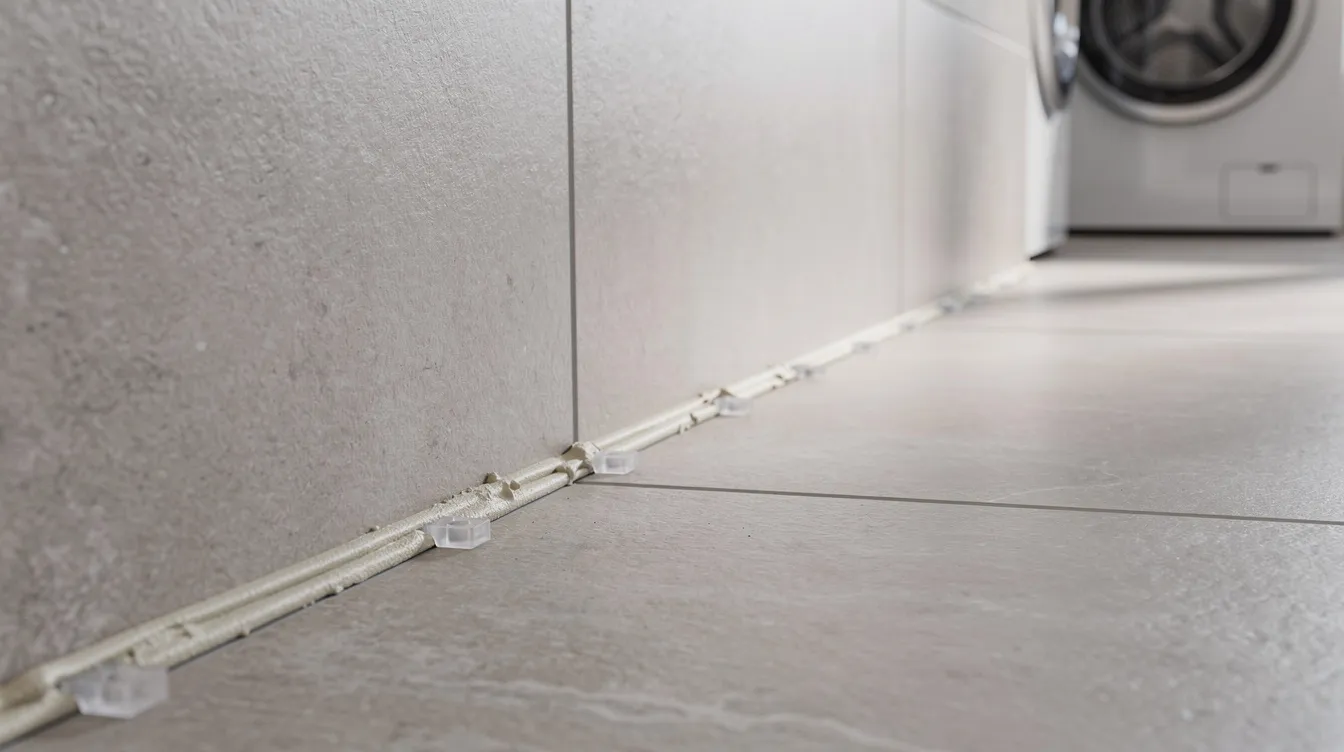
When and How to Seal Grout After Installation
Sealing grout is essential for long-lasting, great-looking tile. For most cement-based grout, it’s best to wait about 72 hours after installation to let it fully cure before applying a sealer. Choose a penetrating or impregnating sealer (avoid those with silicone) to help protect grout from spills, stains, and everyday wear, and to lock in its original color. Remember, only grout needs sealing—glazed tiles typically don’t.
To apply, follow these steps:
- Ensure grout lines are clean and dry.
- Apply sealer with a small brush, foam applicator, or spray bottle directly to the grout lines.
- Allow the sealer to soak in as directed by the product instructions.
- Wipe away any excess from the tiles with a microfiber cloth.
- Let the sealer cure for the recommended time before exposing the area to moisture.
Reapply sealer every six months—or as needed, based on the product’s guidelines and the level of foot traffic or cleaning in the space. High-traffic bathrooms in Colorado Springs may need more frequent resealing than little-used guest baths.
If you’ve chosen epoxy grout, you’re in luck: its chemical composition means it naturally resists moisture and staining, so there’s no need to seal.
Routine maintenance and timely resealing will help keep your grout lines looking clean and protect against future problems.
Does Epoxy Grout Need to Be Sealed?
One of the major benefits of epoxy grout is that it does not require sealing. Unlike traditional cement-based grouts that are porous and need regular sealing for protection, epoxy grout is non-porous and naturally resists moisture, stains, and spills. This makes it a popular choice for areas exposed to water, such as showers and kitchen backsplashes, as it offers long-lasting durability and minimal maintenance.
If you’re considering epoxy grout for your next project in Colorado Springs, rest assured that you can skip the resealing step—saving both time and effort during your routine tile care.
For professional grout cleaning, recoloring, or resealing services in Colorado Springs, contact Elevated Tile and Remodeling at 719-283-9569.
Preventing Mold and Mildew on Tile Surfaces
The battle against mold and mildew in the bathroom begins with understanding the importance of humidity control and proper maintenance. In areas like Colorado Springs, where seasonal changes can affect bathroom humidity levels, it's crucial to be proactive.
Controlling Bathroom Humidity
One of the most effective ways to prevent mold and mildew is by controlling bathroom humidity. Installing and regularly using a high-quality bathroom exhaust fan can significantly reduce moisture levels. Running the fan during and after showers helps pull humidity from the room, prohibiting mold growth on the grout.
Post-Shower Maintenance Habits
Simple habits can make a significant difference in preventing mold and mildew. Wiping down tiles with a squeegee or microfiber cloth after each shower can reduce mold growth by up to 90%. Additionally, leaving shower doors or curtains open allows for better air circulation, ensuring all bathroom tile surfaces dry faster.
Preventative Products and Solutions
Using preventative products can provide long-term protection against moisture damage. Mildew-resistant grout sealers and specialized tile coatings are effective solutions for high-humidity bathrooms. As Fierman notes, "An ounce of prevention is worth a pound of cure."
By implementing these strategies, homeowners in Colorado Springs can maintain a clean bathroom and prevent the growth of mold and mildew on their tile surfaces.
Common Tile Maintenance Mistakes to Avoid
Proper tile maintenance requires awareness of the most common mistakes to avoid. By understanding these pitfalls, homeowners can ensure their tile surfaces remain clean, safe, and durable.
Harmful Cleaning Products
Using harsh chemicals like vinegar and lemon juice can be detrimental to tile and grout. These acidic cleaners can cause permanent etching on natural stone tiles and deteriorate cement-based grout. Instead, opt for gentler, pH-neutral cleaning solutions that effectively clean without damaging the grout or tiles.
Improper Cleaning Techniques
Improper cleaning techniques, such as using abrasive scrubbers or wire brushes, can scratch tile surfaces and erode grout lines. This not only damages the tiles but also creates more spaces for dirt and mold to accumulate. Gentle cleaning methods and soft-bristled brushes are recommended to maintain the integrity of your tile and grout.
Neglecting Regular Maintenance
Neglecting regular cleaning and maintenance is a common mistake that can lead to significant damage. Waiting until tiles and grout are visibly dirty often means that damage has already occurred beneath the surface. Regular cleaning and inspection can prevent such issues. For a professional assessment or to get a FREE estimate on restoration services in Colorado Springs, visit https://www.elevatedtileandremodelingcoloradosprings.com/free-estimate.
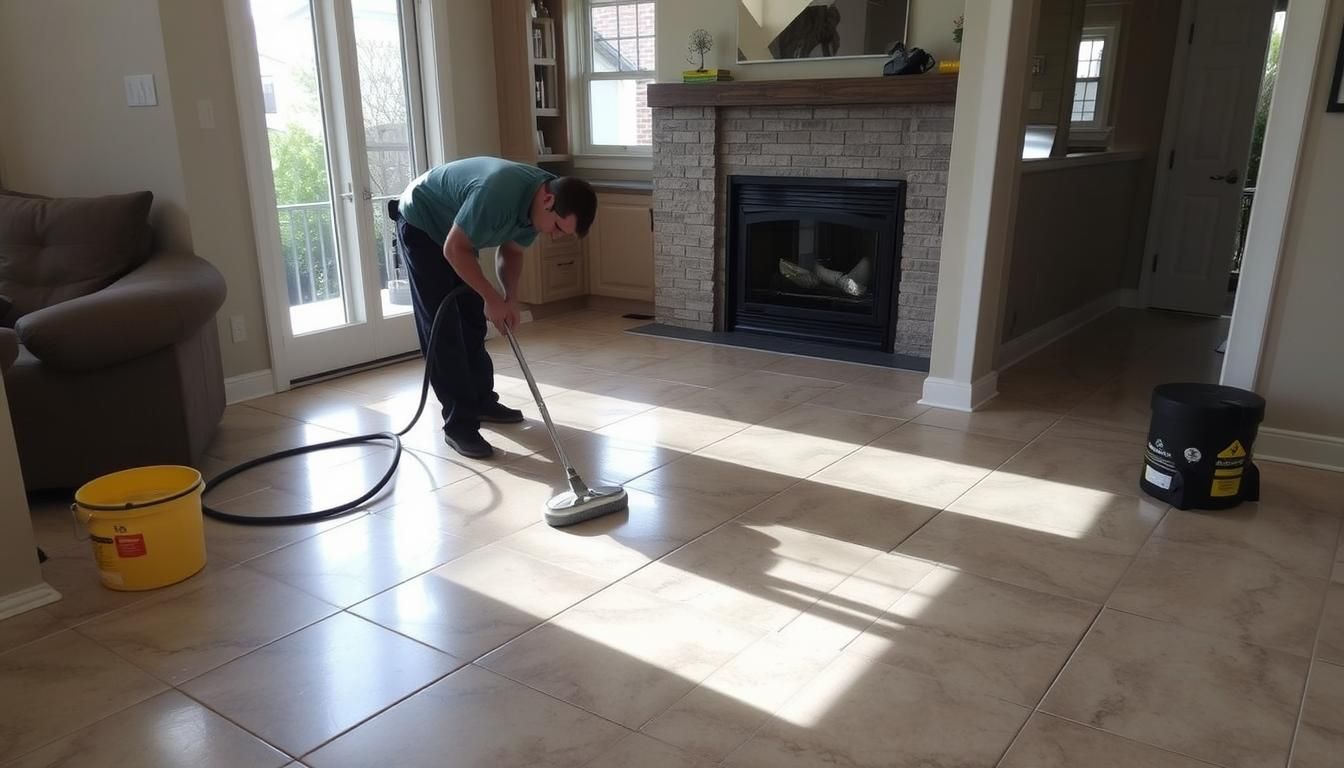
When to Call Professional Tile Maintenance Services
Knowing when to seek professional help for tile maintenance can save you from more significant problems down the line. If you notice widespread discoloration of tile and grout, it's time to contact a professional. According to Anne Ruozzi, founder of Therapy Clean, neglected tile and grout can lead to water seeping behind the wall, creating unseen mold.
Here are key indicators that professional tile maintenance is necessary:
- Persistent stains that don't respond to regular cleaning methods.
- Grout beginning to crack or crumble.
- Discoloration spreading across multiple tiles or grout lines, potentially indicating water damage behind the walls.
- Hard water stains that have built up over years.
- Loose or hollow-sounding tiles, indicating potential water damage beneath the surface.
For Colorado Springs homeowners, consider professional deep cleaning for bathroom tile and grout at least once every 1-2 years. For expert services, call Elevated Tile and Remodeling at 719-283-9569 or get a FREE estimate.
Conclusion
A well-maintained bathroom tile surface enhances the aesthetic appeal and prolongs its lifespan. To achieve this, it's crucial to understand your tile type and use the right cleaning products. Establishing a routine that includes daily quick wipes and weekly deeper cleaning is key. For stubborn stains or aging grout, consider professional help. Elevated Tile and Remodeling in Colorado Springs offers comprehensive services. Call us at 719-283-9569 or get a FREE estimate.
Frequently Asked Questions About Cleaning Porcelain and Tile Surfaces in Colorado Springs
What is the best way to remove hard water stains from tile surfaces?
To remove hard water stains, mix equal parts of white vinegar and water in a spray bottle. Spray the solution onto the stained area, let it sit for a few minutes, and then scrub with a non-abrasive sponge or cloth. For tougher stains, a paste made from baking soda and water can be applied and left to sit before rinsing.
How often should I reseal my grout to maintain its integrity?
The frequency of resealing grout depends on the type of grout and the amount of use it receives. Generally, it's recommended to reseal grout every 1 to 3 years. You can check if your grout needs to be resealed by performing a water test: if water beads up on the surface, the seal is still good; if it absorbs, it's time to reseal.
Can I use lemon juice as a cleaning agent for my tile surfaces?
Yes, lemon juice can be used as a natural cleaning agent due to its acidic properties. Mix lemon juice with water in a spray bottle and use it to wipe down tile surfaces. However, be cautious when using lemon juice on natural stone tiles, as the acidity can etch certain types of stone.
What are some common mistakes to avoid when maintaining tile surfaces?
Common mistakes include using harsh chemicals or abrasive cleaners that can damage the tile or grout, neglecting regular maintenance, and using improper cleaning techniques that can lead to streaks or damage. Always read the label of any cleaning product to ensure it's suitable for your tile type.
How can I prevent mold and mildew from growing on my tile surfaces?
To prevent mold and mildew, ensure good ventilation in your bathroom, regularly squeegee or dry the tile surfaces after showering, and consider using a product containing antimicrobial agents. Regularly inspecting your grout and tile for signs of moisture accumulation can also help in early detection and prevention.
At Elevated Tile and Remodeling, we specialize in transforming high-end custom homes through exquisite bathroom remodels, expert tile installation, and meticulous interior finishes. Our dedication to craftsmanship and detail ensures that every project reflects our clients' unique visions, enhancing both beauty and functionality in the Colorado Springs area.